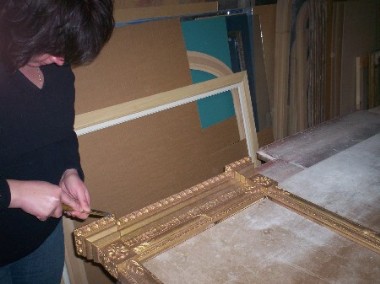
..We are often asked how exactly we make our mirrors and frames ( and if we are just buying in stocks from China or elsewhere ).
So here is a step-by-step guide to show that we are still making our mirrors and frames here in Somerset , in exactly the same way as the Victorian craftsmen ( no plastics , resins , mass-produced things or spray on gold used here) and also we use our vast stock of unique and rare antique hand-carved moulding blocks.. so, first you will need...
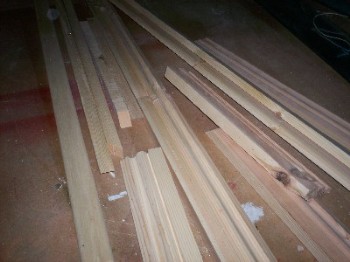
..A good variety of timber..this is how our mirrors start ..we use only high quality Swedish pine for the main framework of most of our mirrors..
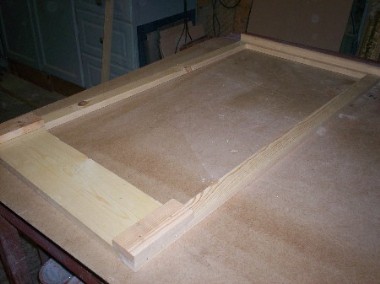
So firstly we cut and join the timber to make the basic framework
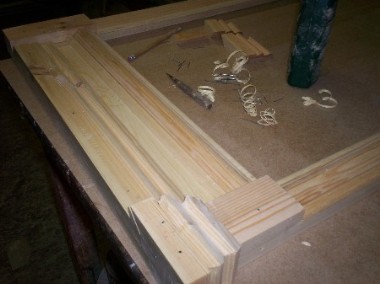
..and then various shaped timber mouldings are used to build up the Profile facia of the mirror we are building...
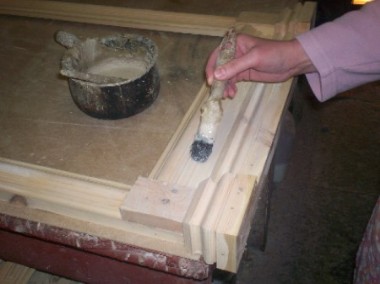
Then a first coating of hot liquid Gesso is applied to `raise and fix` the grain of the wood . Once dried and hard the entire framework is sanded smooth and a second coating of gesso is applied , allowed to dry and again sanded smooth
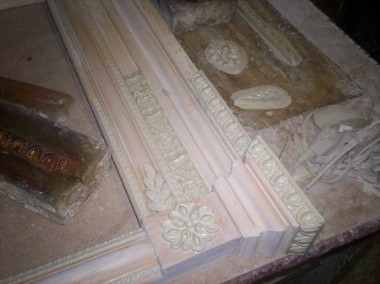
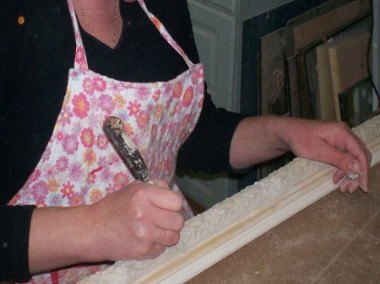
Then you are ready to begin setting the decorative patterns to the frame . Our patterns are pressed out individually from our antique carved moulding blocks . you have about 5 minutes to press out the patterns , cut and trim them and set in place again with hot gesso glue.
..After a day or two the decorations are set fully hard ..
Here are 3 of our block moulds - I`ve never actually counted all of the mouldings we have .. There are boxes , drawers and cupboards full of them!
..so after a day or two the decorations are set hard and have cracked a little in drying , which we then tediously have to `point in` to a degree with more gesso. Some minor crackula is left to give a naturalistic impression of ageing and character
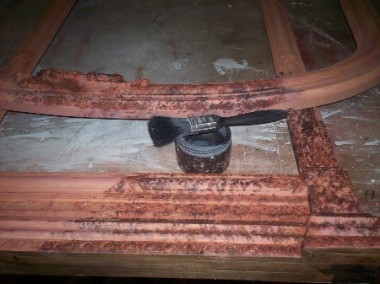
Then the first of the base colours is applied - the lighter or darker the base colours influences the finished effect
More colours are stippled on to the base colour and allowed to dry - then polished smooth
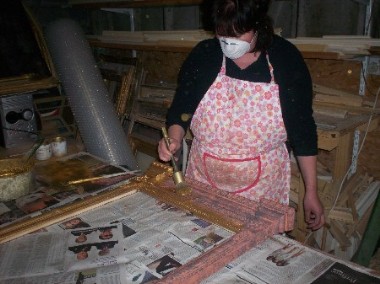
Then we use Gold burnishing powders which are heated up on a mixture of Meths , water and glue granules and stippled onto the mirror ( Dutch gold leaf is different wherein you apply `size` directly onto the base colours and when tacky start applying the leaf )
When dry a special burnishing stone is used to bring a shine to all the decorative patterns
Then a few coats of varnish , some rotten-stone dusting
Cut and fit the mirror glass and backing boards
paper in and fit the D-rings and cord or brass plates
...and.. VOILA !!
.
Now you too can make your own `LARGE REEDED WALL MIRROR` ...simple !
